

6- Loop Bows

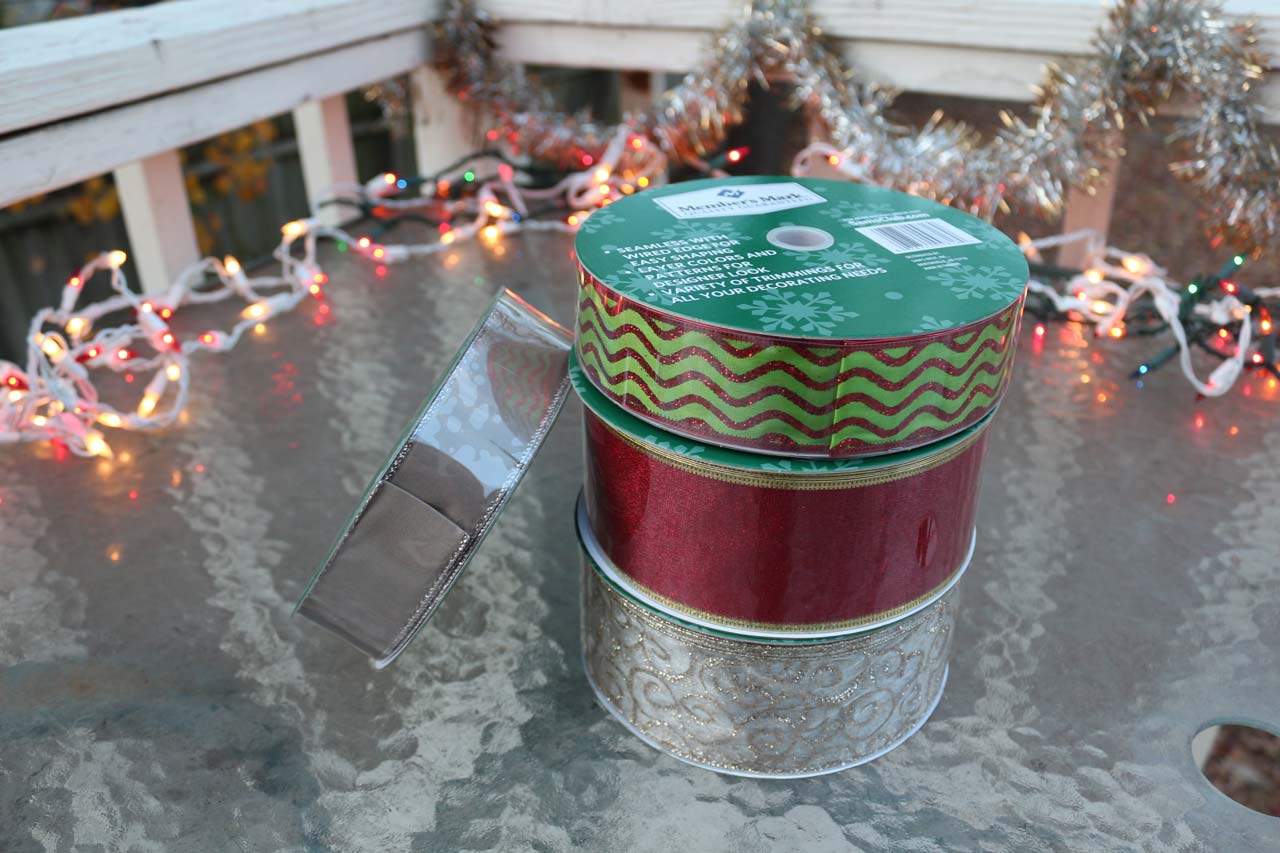
There are many different types of ribbon to choose from. The thicker bottom two in the photo are 2.5″, I suggest using 2″ and above. These are all wired ribbon, make sure yours are too.
Step 1 – Gather your supplies. You will need
- Wired Ribbon of choice – 2″ and above
- Scissors
- Thin wire or sturdy twine
- Ruler (opt.)
Step 2 – Unroll a fair amount of your ribbon. This will make life easier, trust me.
Step 3 – Start at the end of your ribbon. Take about 8 inches of ribbon. This will be one of the two “tails” of your bow. Then, measure about 3 inches above that. You will have a total of 11-13 inches of ribbon, depending on how long you want the tails to be. Place your thumb at your imaginary 11-13″ mark.
Step 4 – Now, read closely. You will be taking the side connected to the roll and looping it over to where your 11-13 inch mark is. Twist right where that mark is and hold down with your thumb.
Step 5 – You’ll still be holding the ribbon that’s connected to the roll, take it and loop over again, this time the other way. Do this for a total of 12 times, 6 on each side.
Step 6 – For the center loop, you have two choices. You can keep it with just a total of 6 loops OR you can add another center loop. To do this, you’ll still be holding your ribbon connected to the roll, with a total of 12 loops. Now, twist in the center and make a small loop, then twist in the center again. You do NOT have to do this part.
Step 7 – Tie the string/wire around the center, holding everything together. Make sure you tie string tightly.
Step 8 – Adjust your loops to however you like them. Since this is wired ribbon, the ribbon will stay whatever shape you put them into. Puff out the loops for a fuller look.
Finished. Use these to decorate your tree, railings, centerpieces, and gifts. So much more affordable than buying 12 bows for your next Christmas party.
❄ ❄ ❄ ❄ ❄ ❄ ❄ ❄ ❄ ❄ ❄ ❄ ❄ ❄ ❄ ❄ ❄ ❄ ❄ ❄ ❄ ❄ ❄ ❄ ❄ ❄ ❄ ❄ ❄ ❄ ❄ ❄ ❄ ❄ ❄ ❄ ❄ ❄ ❄ ❄ ❄ ❄ ❄
Glass Paint Projects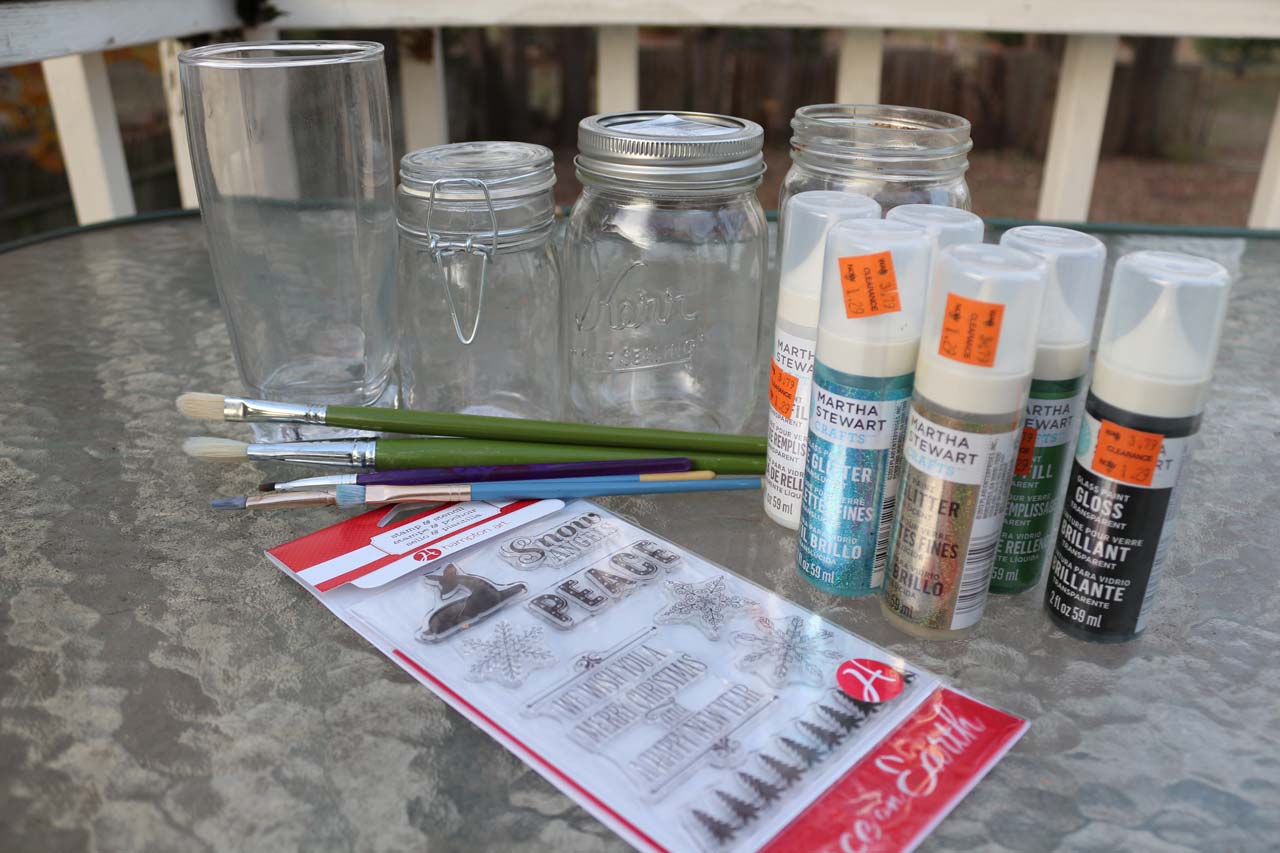
First, gather your supplies. You will need:
- Glass/Ceramic Containers (oven safe)
- Martha Stewart Glass Paints
- Flexible Stencils
- Paintbrushes/Paint Sponges
- Container to put paints in
- Newspapers/Baking Pan/Saran Wrap (don’t get your area dirty)
You can use any type of flexible stencil with this project, using a monogram stencil would be great to customize a gift for a friend. Look for stencils here: http://www.michaels.com/paint-accessories/stencils/845160957
I bought a sheet of stencils and I’m using a snowflake stencil for this specific project.
These Martha Stewart Glass Paints come in different varieties. Make sure you buy what you’re wanting. I’m using “Fine Glitter Translucent” for this project in the colors “Florentine Gold” and “Turquoise”. Make sure you look at the labels closely, if you want a glittery look purchase “Fine Glitter Translucent”. Other varieties include Frost, Gloss, and Metallic. Each paint is a slightly different in consistency and outcome, so don’t be surprised.
Look here for the outcome of each type:
https://www.plaidonline.com/eduPDF/MSGlasscuringinstructions.pdf
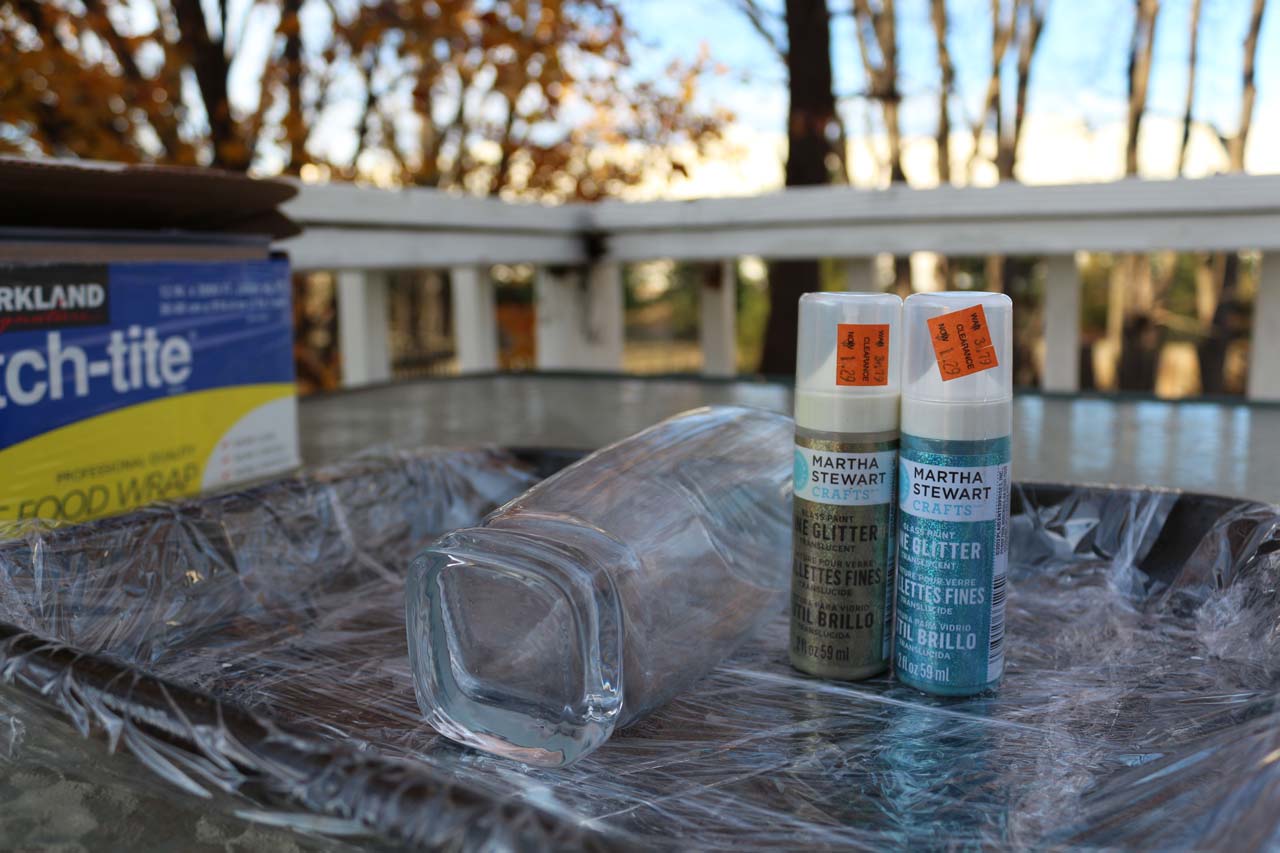
Step 1 – Choose your area. Make sure you’re working on this in an outdoor area or a large, semi-ventilated space. Make sure you protect everything from getting glass paints using newspaper. I’m using a saran wrap covered baking pan:
Step 2 – Take a small container and squeeze paints in. You will need a considerable amount, depending on how much you want to do.

Step 3 – Place your stencil, it should have an adhesive side that will stick to your glass/ceramic well. Do not place stencils near areas that are misshapen. Paint on a thin-medium layer of glass paint. Rinse your stencils after each use. You can use any type of flexible stencil with this project, using a monogram stencil would be great. Look for stencils here: http://www.michaels.com/paint-accessories/stencils/845160957
Step 4 – Peel off stencil carefully. Dry for at least 20 seconds and move onto the next one.
If your glass/ceramic isn’t oven safe, paint will be permanent after drying for 21 days. Curing Instructions:
https://www.plaidonline.com/eduPDF/MSGlasscuringinstructions.pdf
❄ ❄ ❄ ❄ ❄ ❄ ❄ ❄ ❄ ❄ ❄ ❄ ❄ ❄ ❄ ❄ ❄ ❄ ❄ ❄ ❄ ❄ ❄ ❄ ❄ ❄ ❄ ❄ ❄ ❄ ❄ ❄ ❄ ❄ ❄ ❄ ❄ ❄ ❄ ❄ ❄ ❄ ❄
Bath Salts
Bath salts are great to make and give to friends. Bath salts are great for stress relief, headache relief, and helps that stuffy nose go away. They’re also very easy and affordable to make.
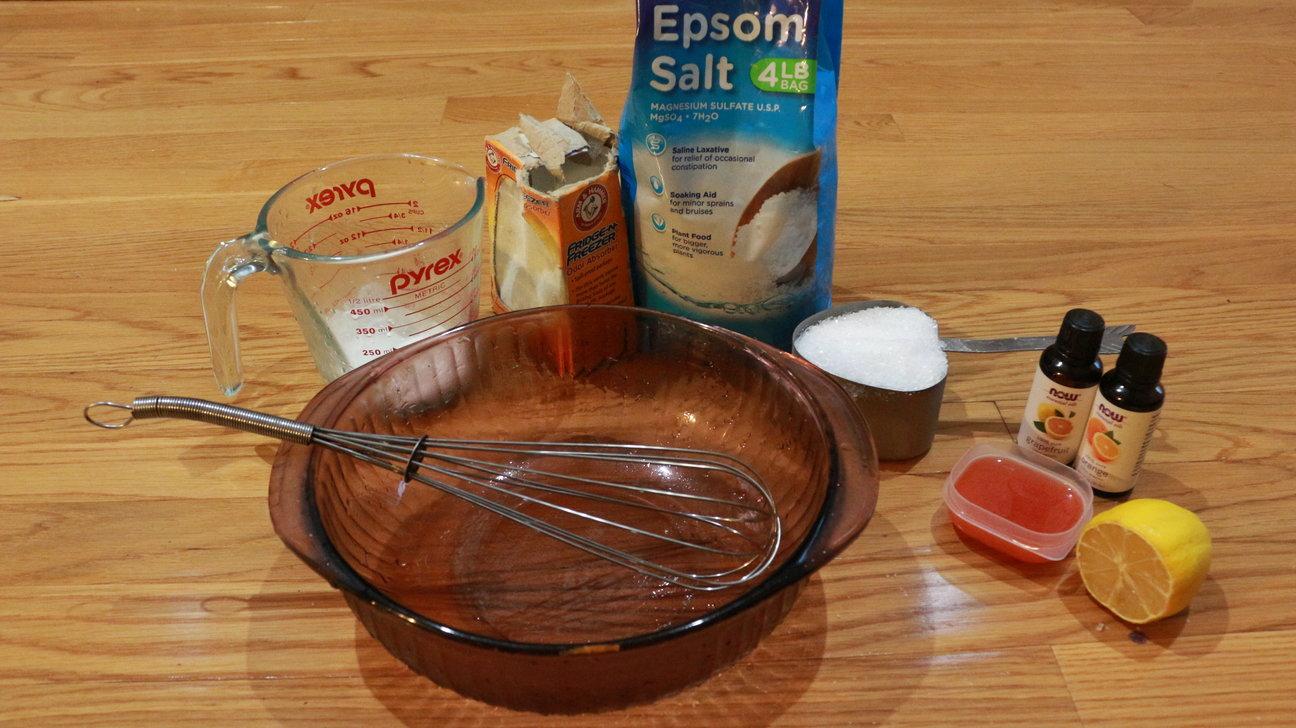
Step 1 – Gather Supplies. You will need:
1 cup of epsom salts (find these in health sections of stores)
¼ cup baking soda
Food coloring or soap colorant (opt.)
Airtight Container (I’m using a snap-close glass container from Michael’s for under $2)
10-20 drops of essential oils
Need help choosing what type of essential oils to use? Citrus smells are cheering and refreshing. Soft scents like lavender are soothing, relaxing, and very calming. Peppermint and spearmint are both refreshing and cooling and perfect for making Christmas themed bath salts.
I’m using “Grapefruit” and “Orange” from NowSolutions Aromatherapy Essential Oils.
Step 2 – Mix all ingredients together in a large bowl.
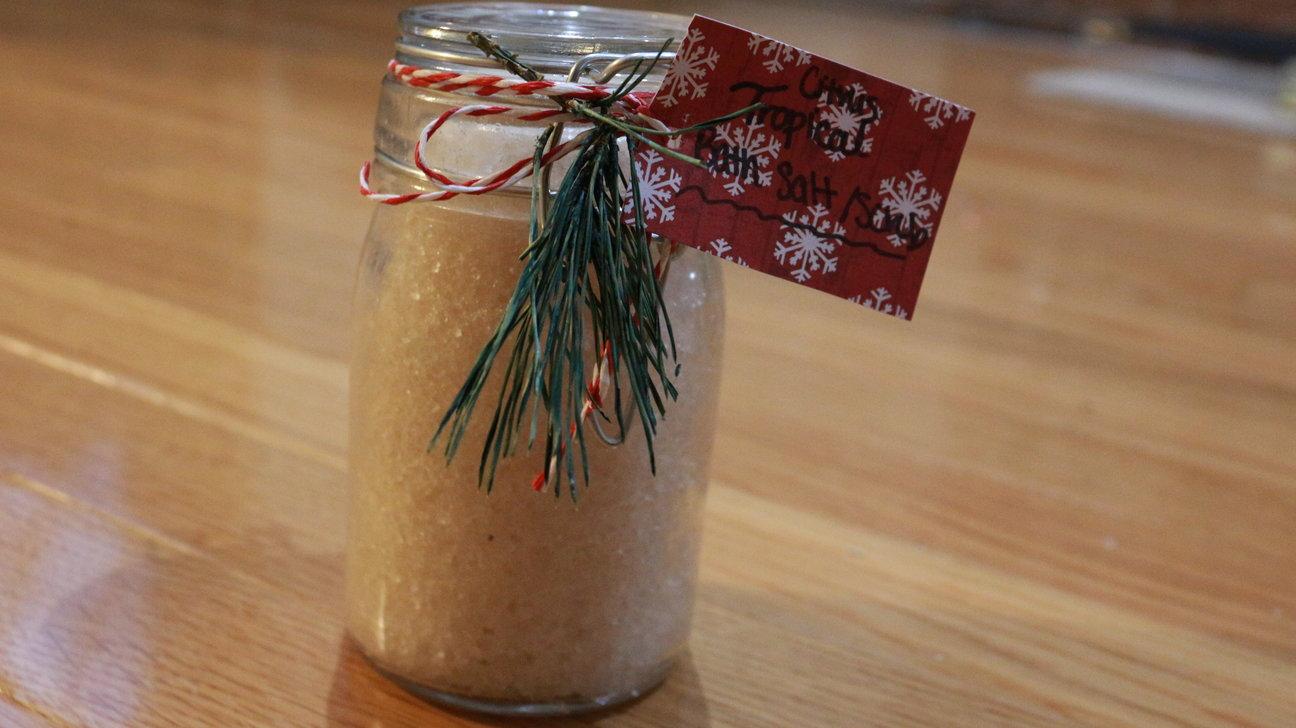
Step 3 – Decorate using baker’s twine, paper string, colored paper, Christmas tree twigs, etc. Use ¼ cup per bath and store in an airtight container. I’m using an airtight container purchased from Michael’s for less than $2.
Finished. With 1 box of baking soda and a 4 lb. bag of epsom salts, you could make gifts for about 8 people (2 cups = 1 lb).
❄ ❄ ❄ ❄ ❄ ❄ ❄ ❄ ❄ ❄ ❄ ❄ ❄ ❄ ❄ ❄ ❄ ❄ ❄ ❄ ❄ ❄ ❄ ❄ ❄ ❄ ❄ ❄ ❄ ❄ ❄ ❄ ❄ ❄ ❄ ❄ ❄ ❄ ❄ ❄ ❄ ❄ ❄
Mason Jar Gifts
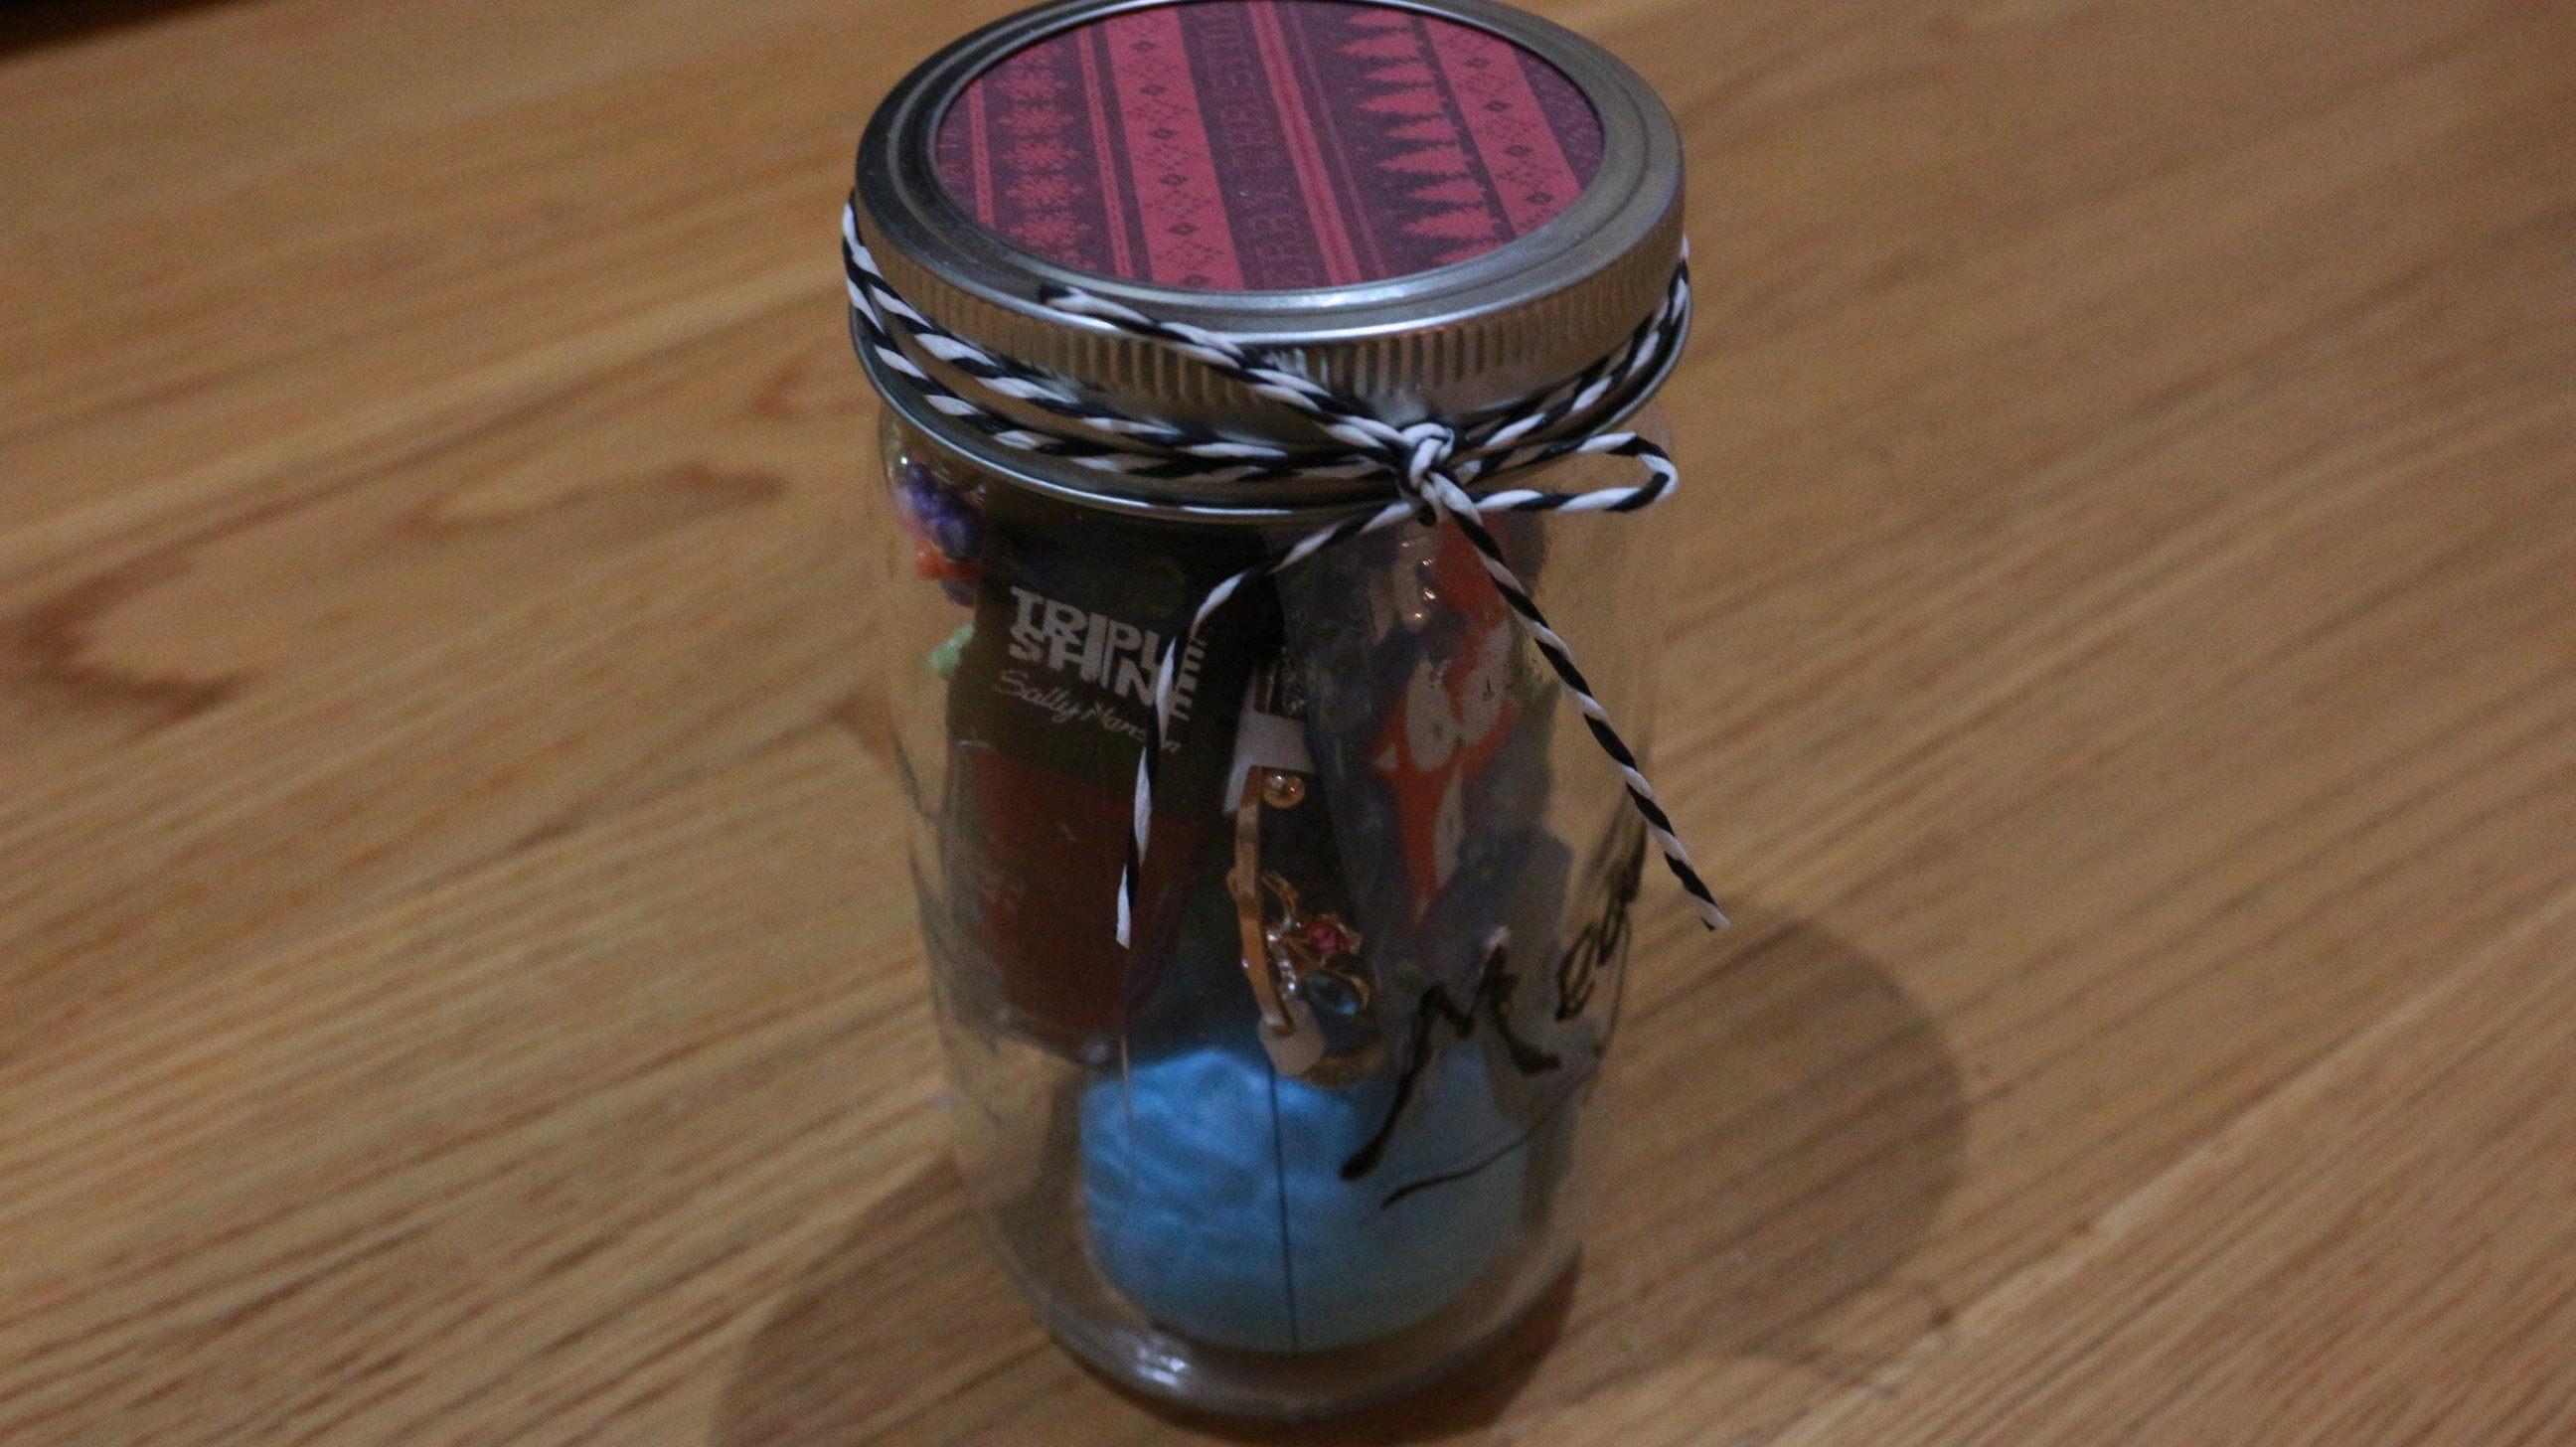
These are the simplest gifts to make ever. Fill a large one with a year’s supply of Starburst or a winter break kit. I’ll be showing you how to decorate a mason jar.
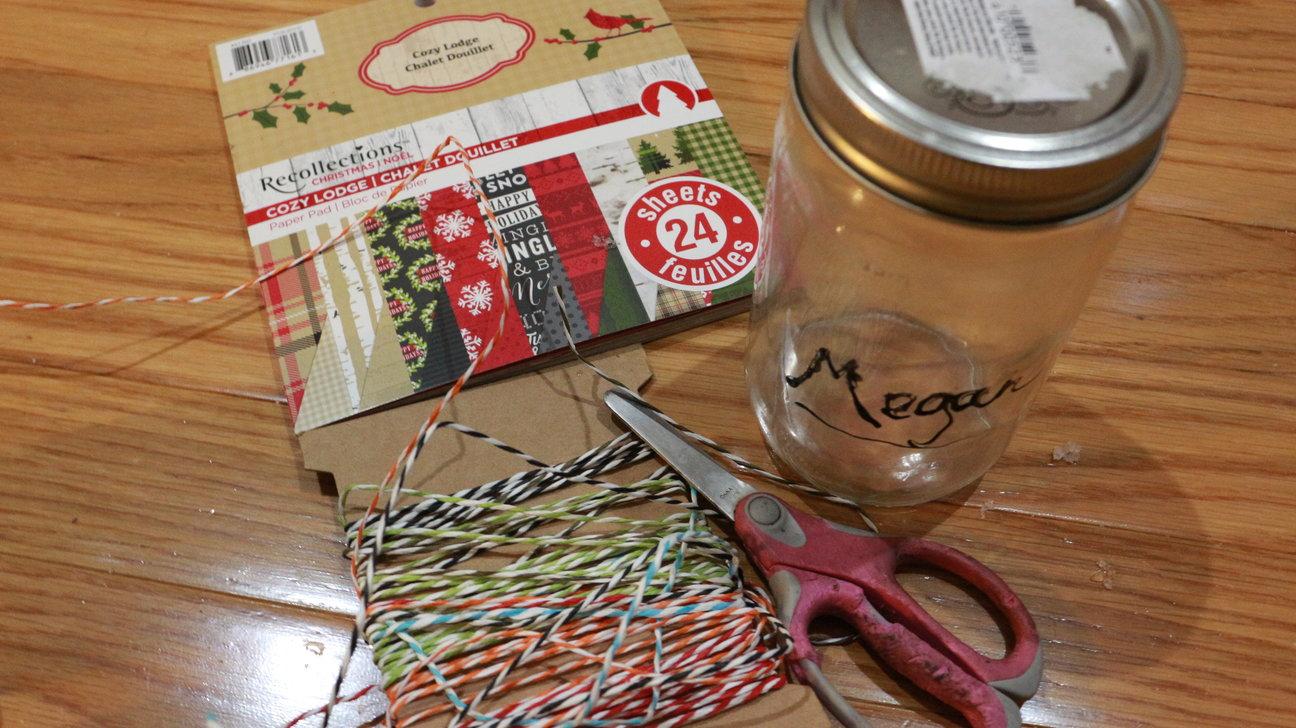
Step 1 – Gather your supplies. You will need:
- A mason jar (I purchased mine at Michael’s for less than $2)
- Paper string or baker’s twine
- Christmas themed paper (about $5 for a booklet at Michael’s)
- Scissors
- Pencil for Tracing (opt)
- Tape (opt)
Step 2 – Begin by taking the cap off of the mason jar. Mason jar caps come in 2 parts, which is why that paper can be inserted. Place the circular part on the piece of Christmas paper and trace.
Step 3 – Cut this circle out
Step 4 – You can choose to tape this piece of paper to the top of the circular part, or leave it sitting and write a note on the back. Add your items and close mason jar.
Step 5 – Take your paper string and wrap around the cap of the mason jar 2-3 times and tie a shoelace bow. You can string a small rectangular piece of paper through the string labeled with “To:” and “From:”.
All done!